Vertical Banner – Eco

Home » Products » Vertical Banner – Eco

SKU: N/A Category:

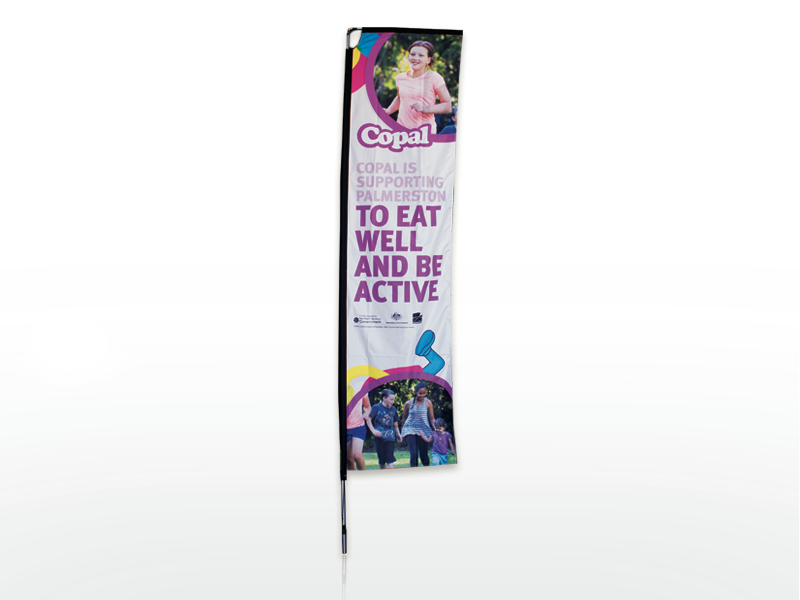
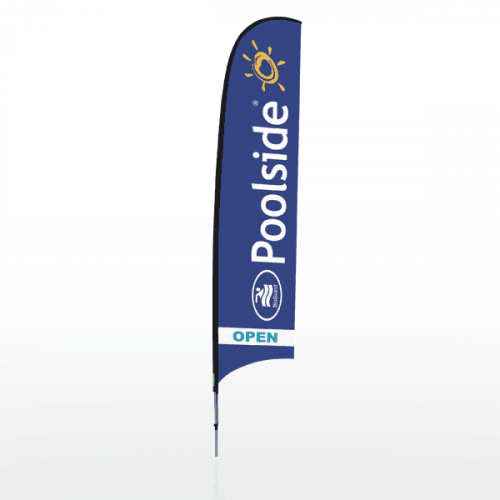
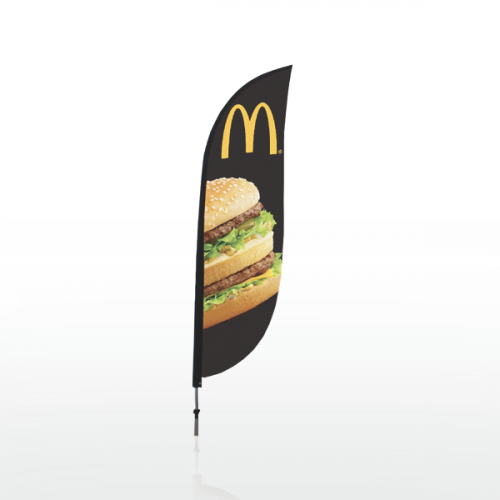
The Eco Vertical Banner is instantly striking and the straight-line borders create a defined corporate statement for your brand.

This product is currently out of stock and unavailable.

Description

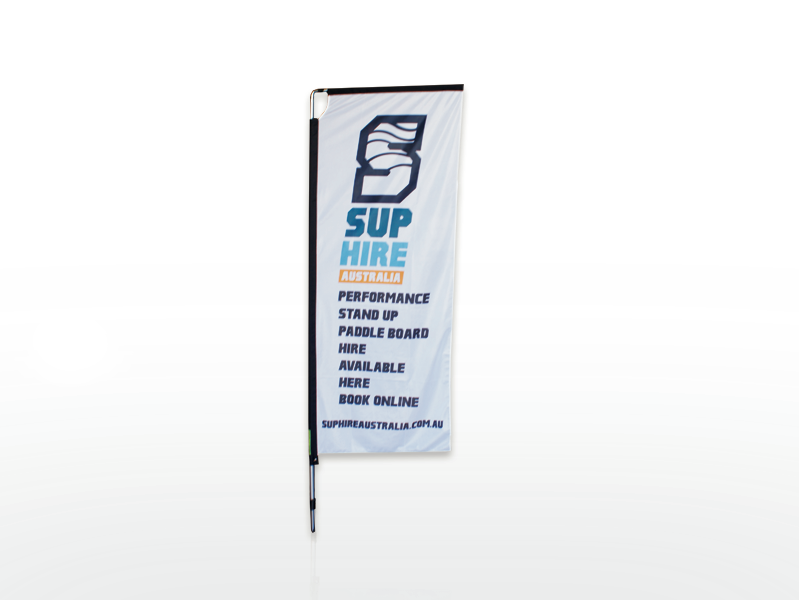
The rectangular shape gives you a large branding space and allows for logos and messages that are longer and more informative.

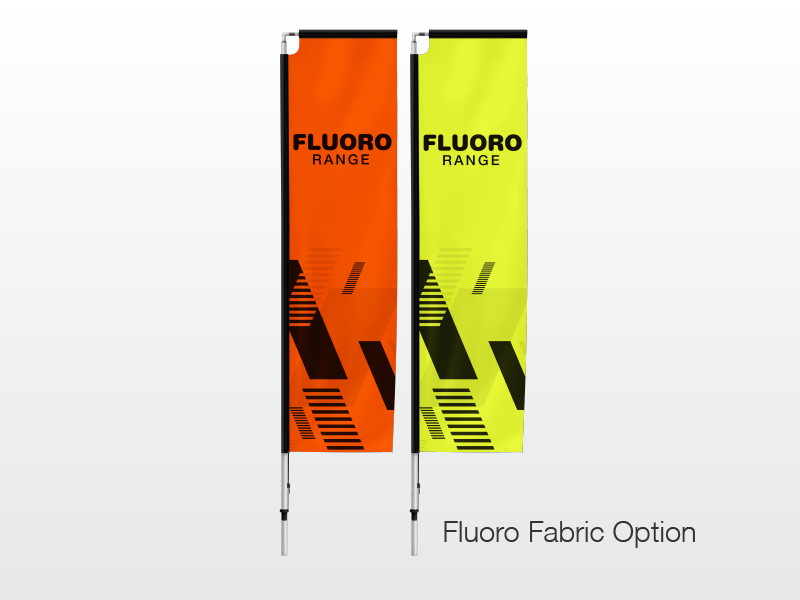
Now available printed onto Yellow or Orange Fluorescent Fabric.

Standard Package includes:
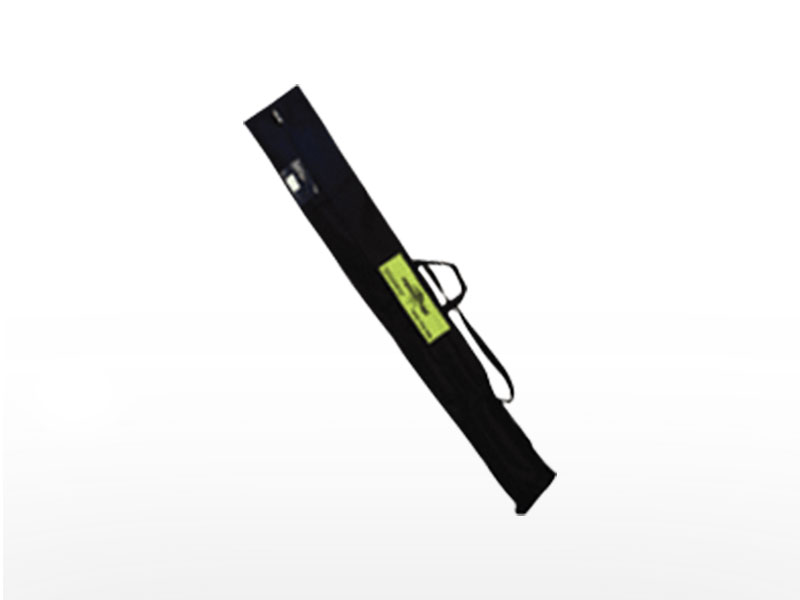
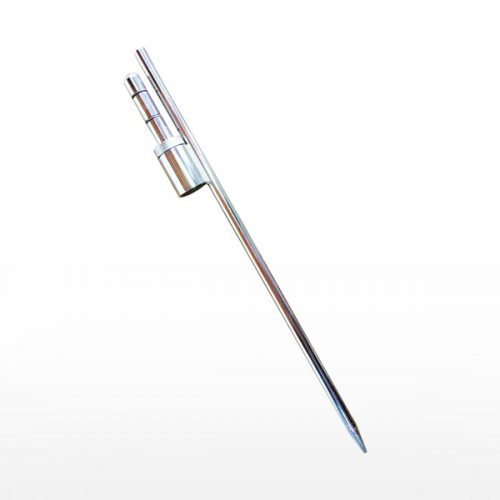
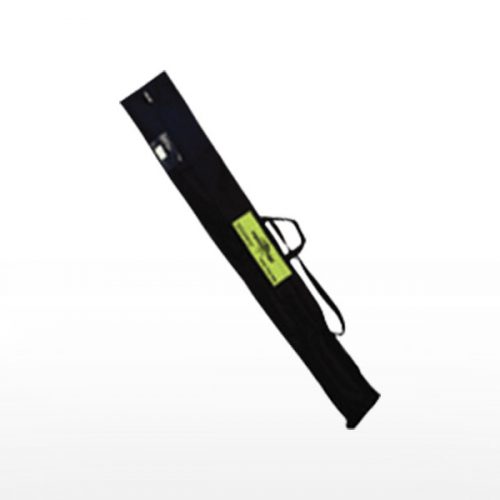
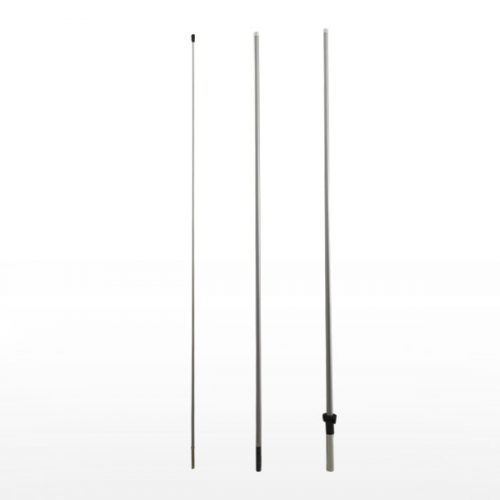
Printed Banner, Fibreglass Rods, Padded Carry Bag and Soft Ground Stake.
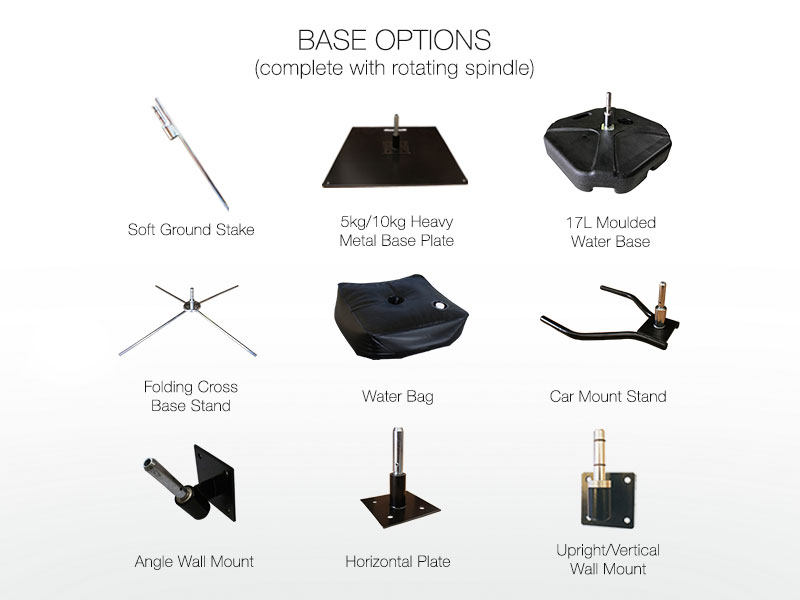
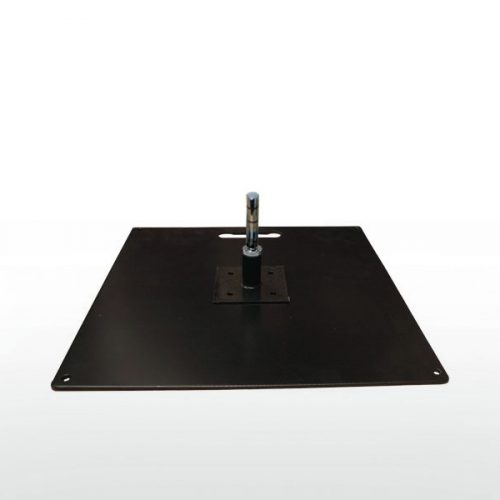
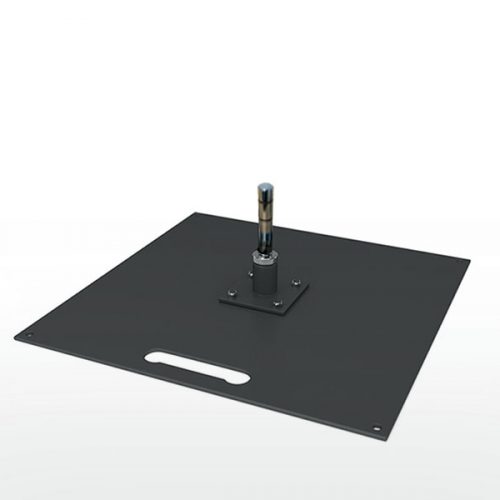
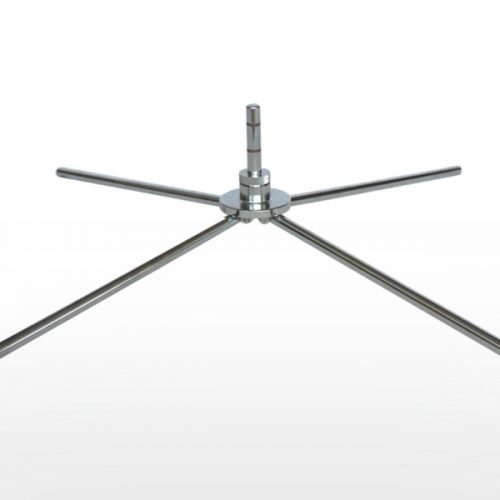
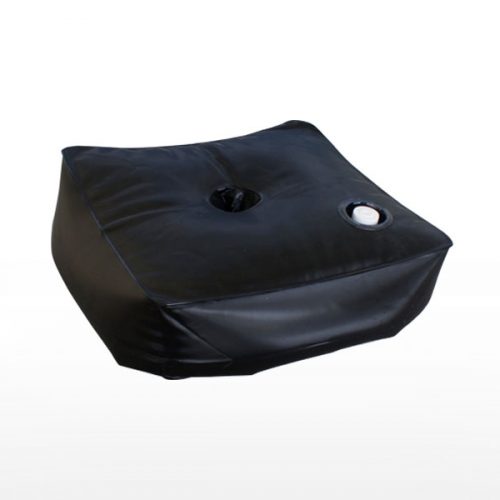
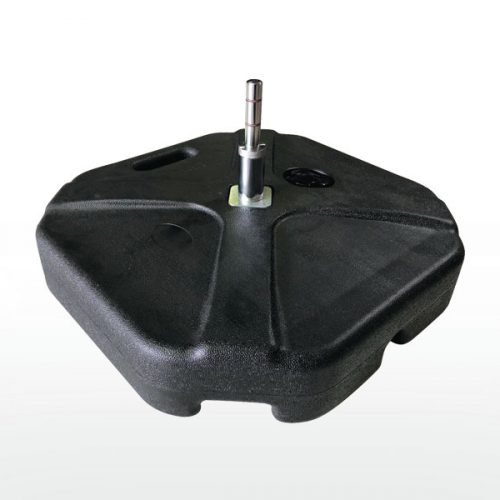
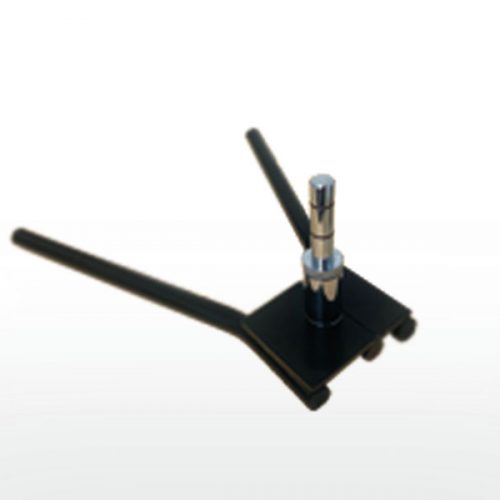
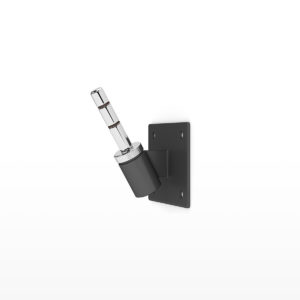
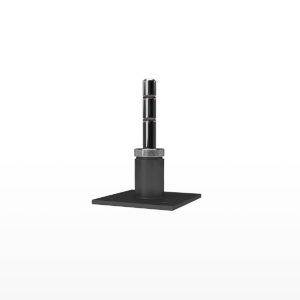
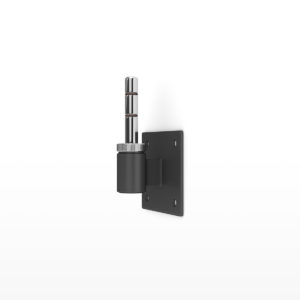
A variety of alternative base options are available to suit your mounting surface (Click here to see more)

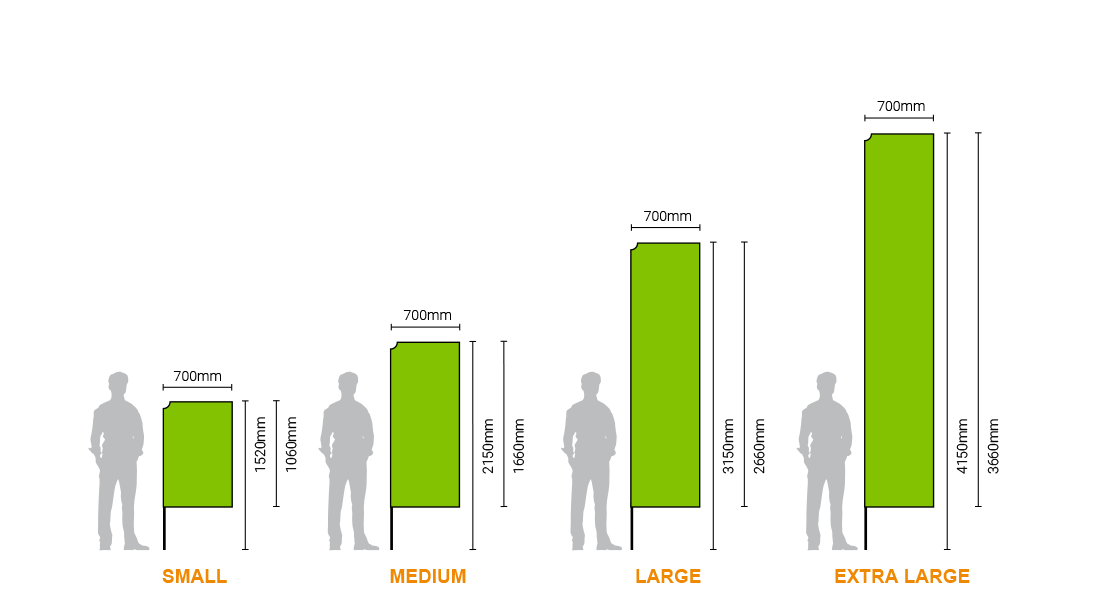
  • Available in three sizes – Small, Medium and Large
  • Banner is 750 mm wide
  • Full Colour Digital Printing
  • Single or True Double-Sided Printing
  • Replacement fabric skins are readily available
  • Strong Fibreglass rods with Metal reinforcing
  • Top Tension pole
  • Premium carry bag, with sections for the ground spike, and rods
  • Easy to transport, assemble and take down

Additional information

Flying Banner Sided

DOUBLE SIDED 2 Panel, DOUBLE SIDED 3 Panel, SINGLE SIDED 95% Bleed Through

Flying Banner Type

Banner Only, Complete Kit

Flying Banner Size

Extra Large 4.15m, Large 3.15m, Medium 2.15m, Small 1.52m

Sizes

Specifications

Why choose Expandasign Flying Banners?
Since introducing the first Flying Banners into Australia in 1999, our banners continue to maintain their original superior design features and quality, that have stood the test of time and have been enhanced with the latest technology advances.
Superior Printing:

  • Latest technology, quality full Colour Digital Printing
  • Single Sided Printing is available for ALL flying banners and has approx. 95% bleed-through of the image onto the reverse side
  • Double-Sided Premium True Double sided Printing is available for selected flying banners and uses ONLY 2 pieces of material with a grey block out coating on the reverse side of each piece of material to prevent transparency. A more economical option is available on request, which uses 3 pieces of material, with a piece of fabric in the middle to prevent transparency.

Superior Fabric Banner:

  • The knitted polyester fabric used is stronger than the other woven fabrics
  • The knitted polyester fabric achieves higher quality print
  • The separate rod pocket made from a heavy duty polyester fabric allows the rods to easily feed through the fabric and extend the life of the banner
  • The rod pocket, incorporating 100mm reinforcing, is also triple stitched at the end of the sleeve where it meets the tip rod, for additional reinforcing where the banner needs it most. This helps to prevent the tip rod from wearing a hole through the fabric

Superior Hardware:

  • The strong fibreglass rods are designed for high flexibility and long-lasting durability
  • The Tip Rod carries a lifetime guarantee and has a smooth, moulded cone at the tip, which helps prevent the rod from protruding through the fabric
  • The fibreglass rods are designed with a memory which allows the rods to return to the original position after bending inside the banner
  • We provide metal collars at the pole ends to strengthen the rods and increase longevity, preventing the rods from splitting
  • All banner bases feature the original wider spindle to support a wider base rod, providing more strength in the rod system
  • All banner bases feature a rotating ball bearing mechanism which allows the banner to turn freely without wrapping around the pole

Easy Lock Tensioning System:

  • It is very important to ensure that the tension is set correctly, for the optimum appearance and durability of your Flying Banner
  • Our adjustable cord mechanism with an easy lock clip makes tensioning quick and easy
  • Simply mount your Flying Banner, use the adjustable cord to adjust the tension on the banner and then easily lock the cord with the lock clip
  • Remember to adjust the tension over time as the banner fabric stretches or moves to maintain the correct tension and optimum appearance

Accessories

Assembly Instructions

  1. Place your banner base into position. If using a ground spike, use a mallet to drive the spike into the ground.
    DO NOT hit the rotating spindle when driving the spike into the ground.
  2. Insert the shortest rod through the horizontal sleeve at the top of the banner
  3. Next, insert the top rod into the long vertical sleeve along the side of the banner, attaching the remaining rods as you go until the top rod is at the very end of the sleeve
  4. Join the top vertical and horizontal rods so that they form a secure right angle
  5. Attach the cord at the bottom of the banner to the collar on the bottom pole. Place the banner onto the base and adjust the banner tension with the cord. Too much tension will cause ripples in the banner.

Assembly Checklist

  • Tip Rod is at very end of the reinforced sleeve end
  • Cord is firm and hooked securely
  • Banner is taut with no ripples
  • Base is secure

General Care Instructions

  • Ensure the banner has enough clearance to avoid rubbing on walls, trees etc. and check to that the banner is clear of electrical wires.
  • When using a ground spike ensure there are no obstacles such as rocks, concrete, pipes etc.
  • Take care and avoid hitting the rotating spindle when driving the spike into the ground.
  • To increase the lifespan of your banner, take it down at night or in winds exceeding 50 km/ph.
  • Cleaning your banner is advised. Rinse the fabric with warm soapy water, followed by clean water and then assemble to dry naturally before packing away.
  • Regularly check your banner for wear and adjust the cord to ensure the banner is taut.
  • The end of the Tip Rod must always be at very end of the reinforced sleeve.
  • If you require a new cord, or any components including rods, bases and reprints, contact your supplier.

You may also like…